Introduction
Xcode is an integrated development environment (IDE) that runs on macOS, developed by Apple Inc.
Installation
Method 1
Open the App Store that comes with your Mac (or try the direct link) to download Xcode. Click Get, then enter your Apple Account password to start downloading and installing it.
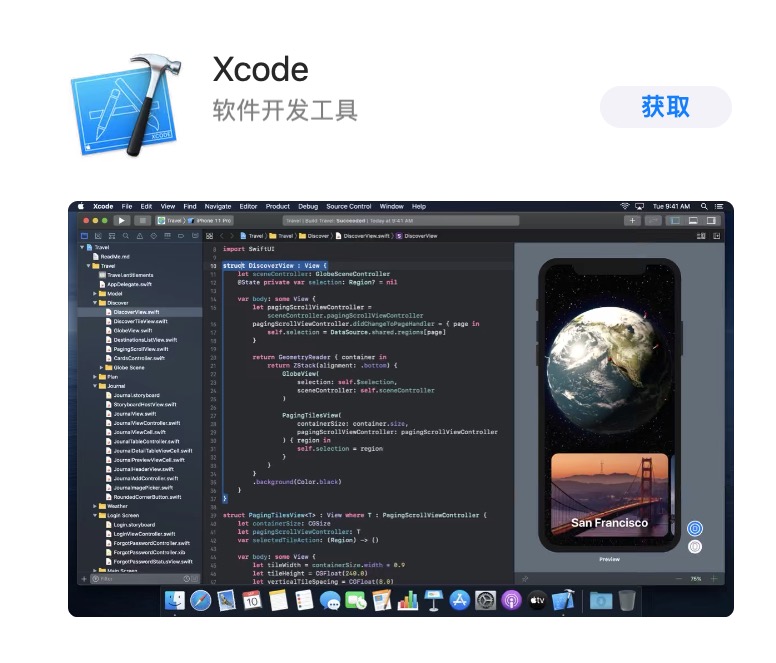
Method 2
Visit the Apple Developer downloads page, sign in with your Apple Account, and find the latest stable Xcode installer (that is, the latest version without Beta; here, it is 11.6):
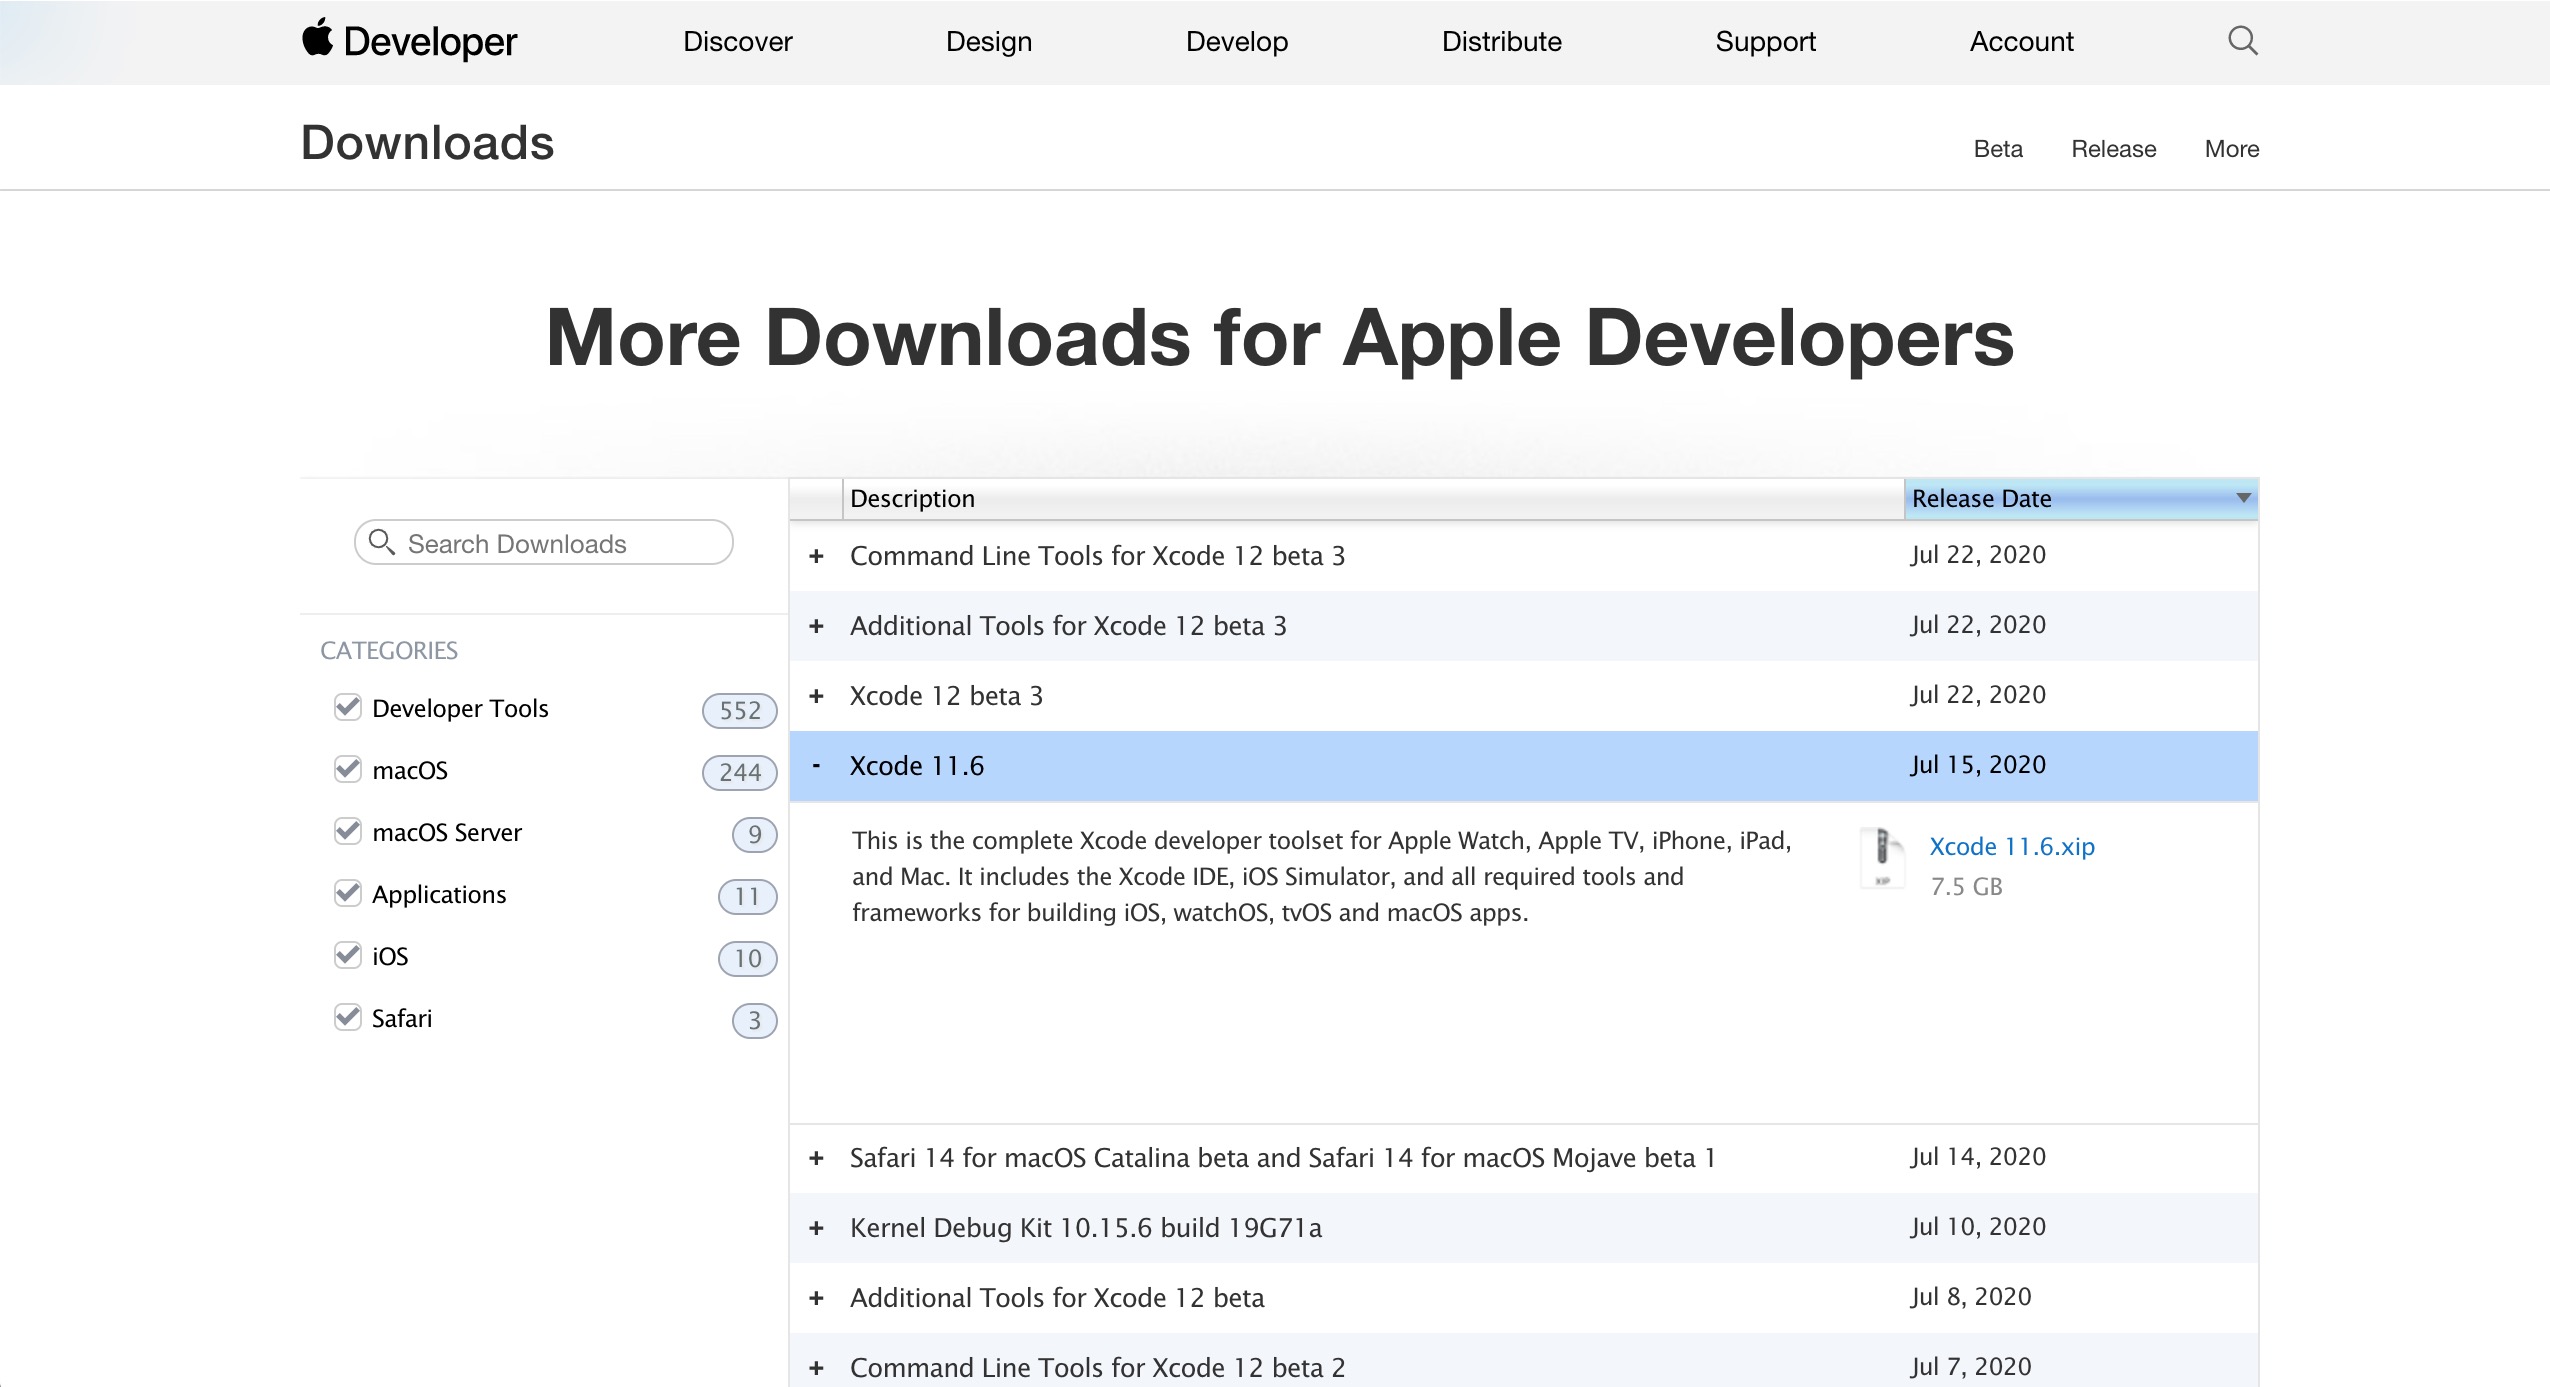
Click the blue filename in the pop-up dialog to download it. After obtaining the archive, use the system's built-in tool to extract it, and you will get the file Xcode.app. Move this file to the Applications folder and it is ready to use.
Basic configuration
When opening Xcode for the first time, you may encounter the following pop-up window:
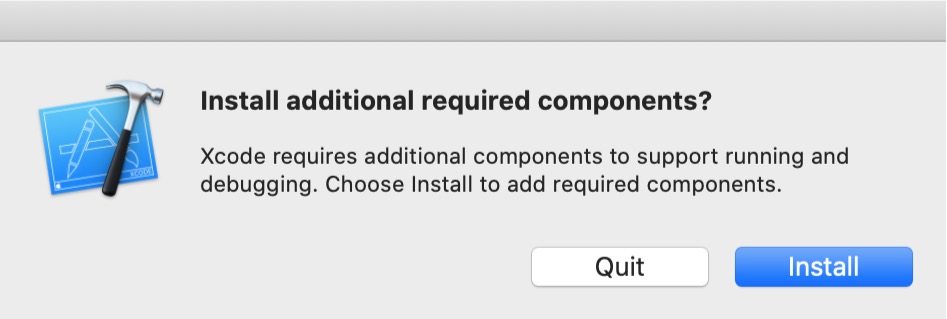
This window guides you through installing Xcode components. Click Install and enter the current user's password.
After installation is complete, the left side of the interface displays:
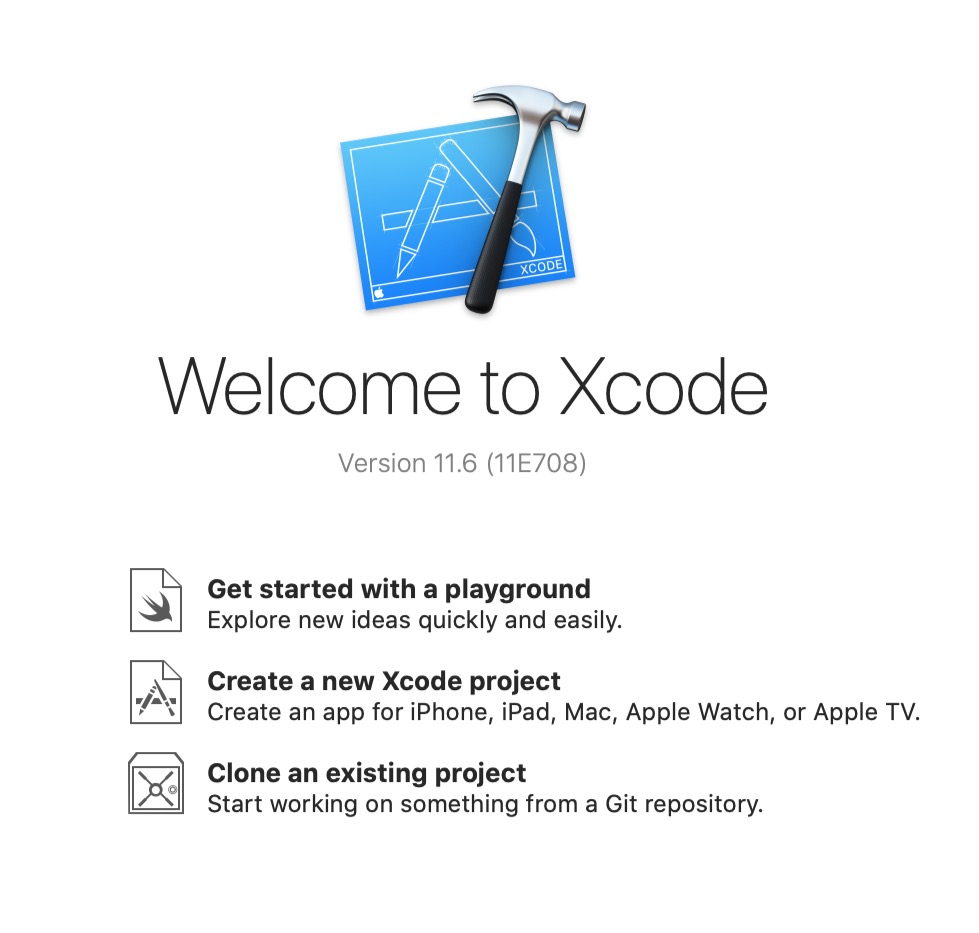
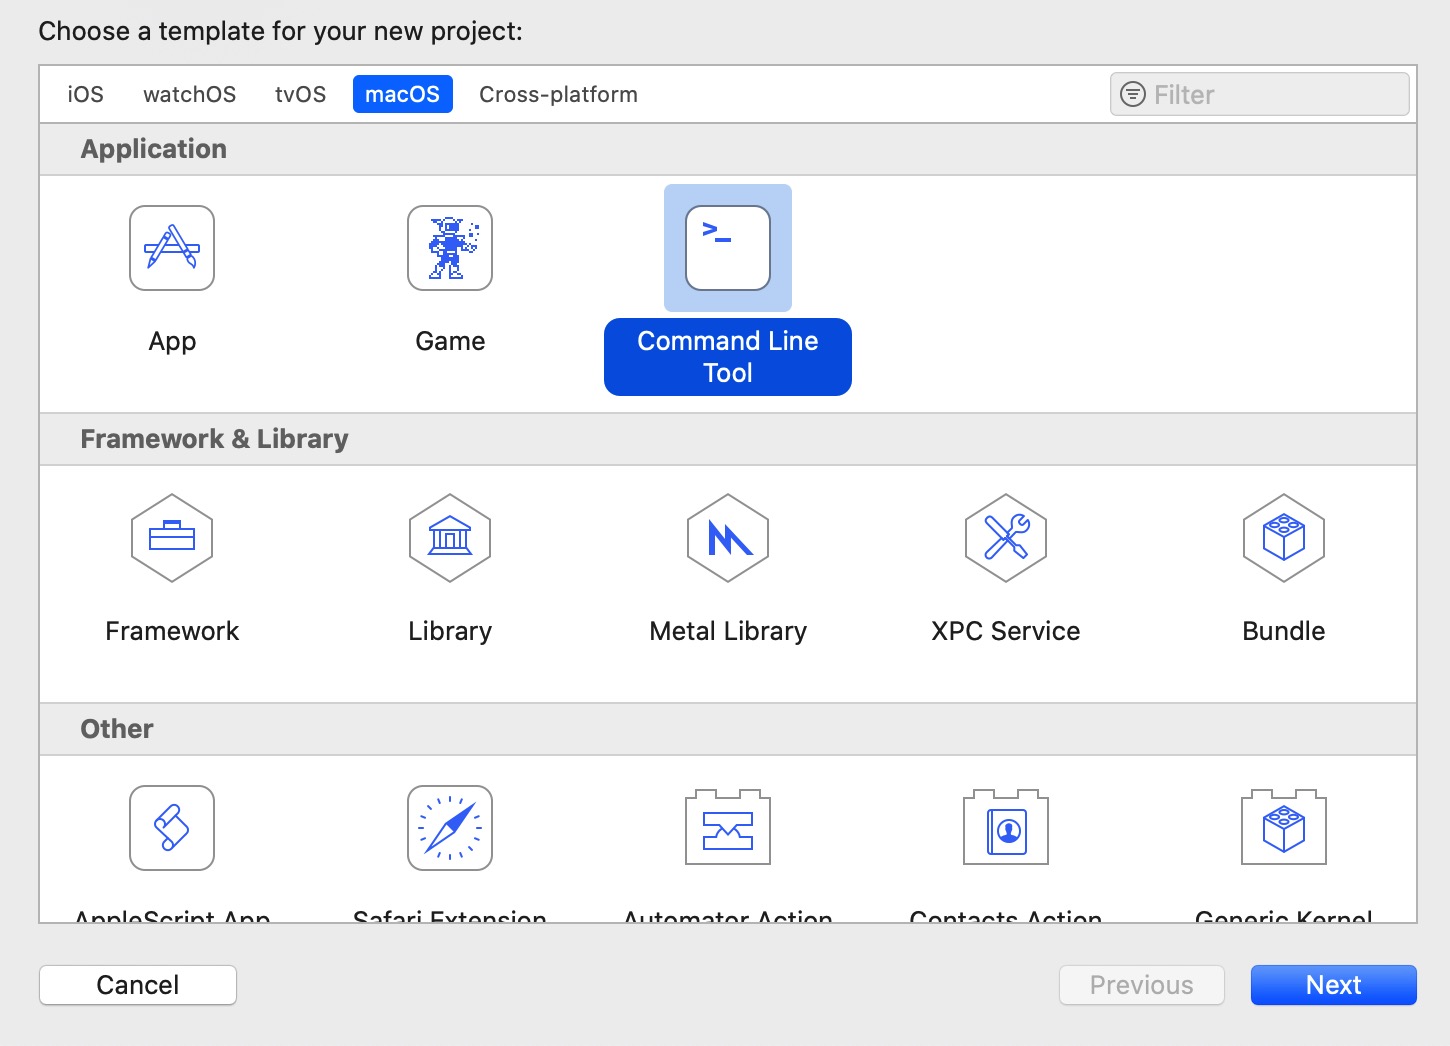
Click Create a new Xcode project, then select macOS above and then Command Line Tool, and click Next in the lower-right corner.
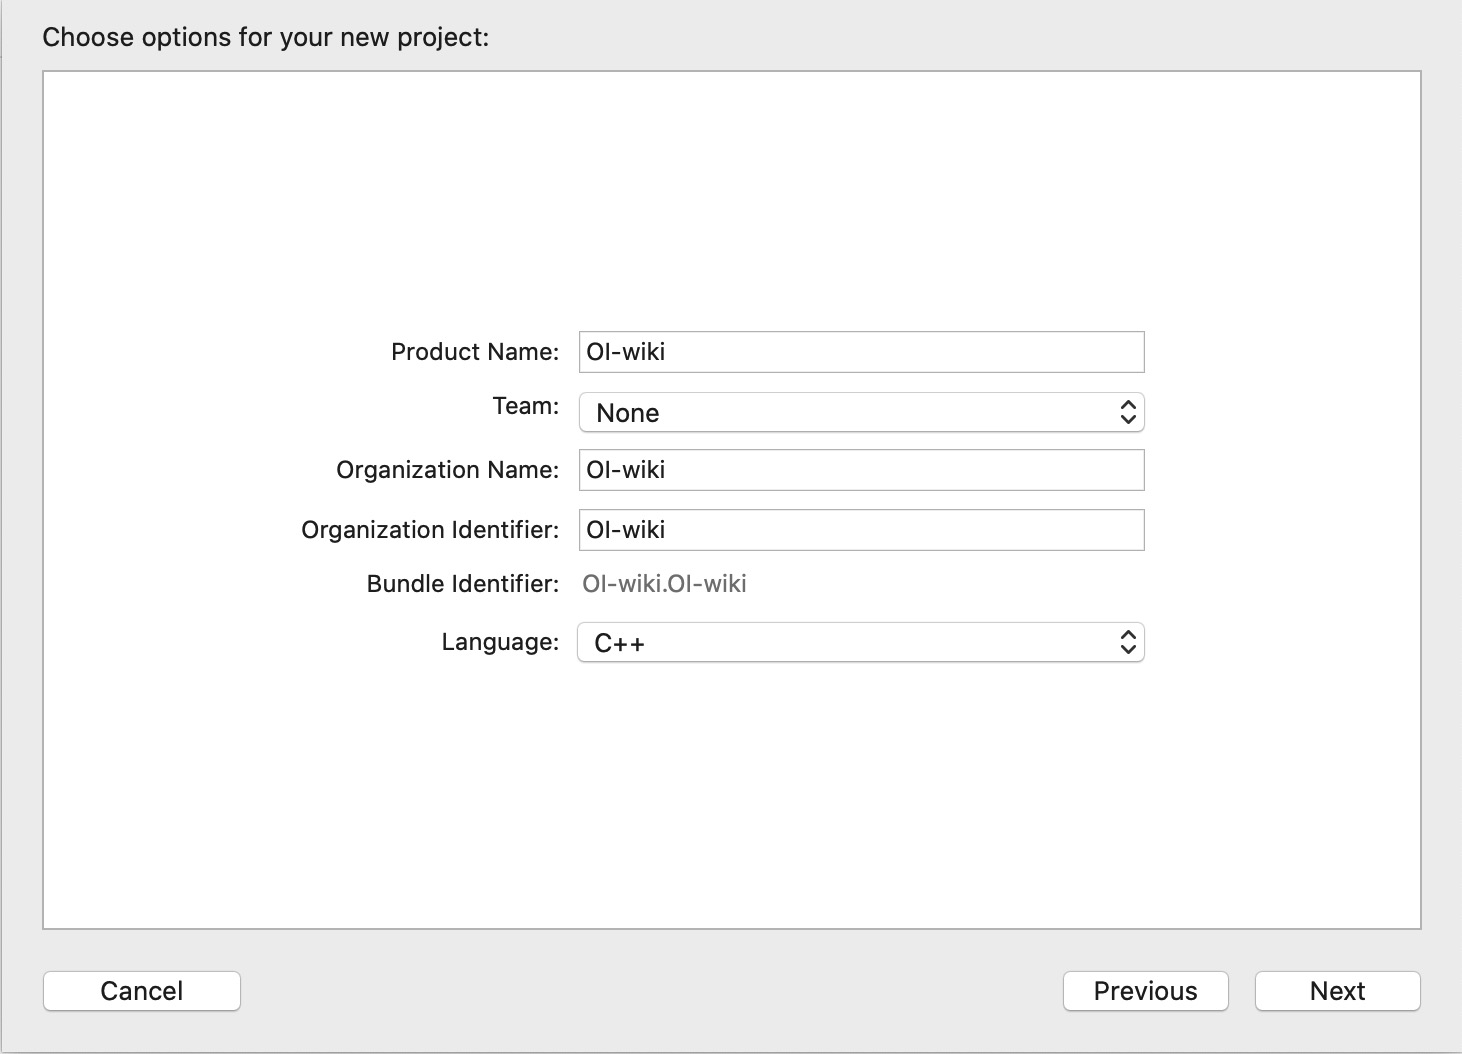
Next, we can name the project, but the most important thing is to choose the project's language. According to your needs, select C or C++ under Language at the bottom:
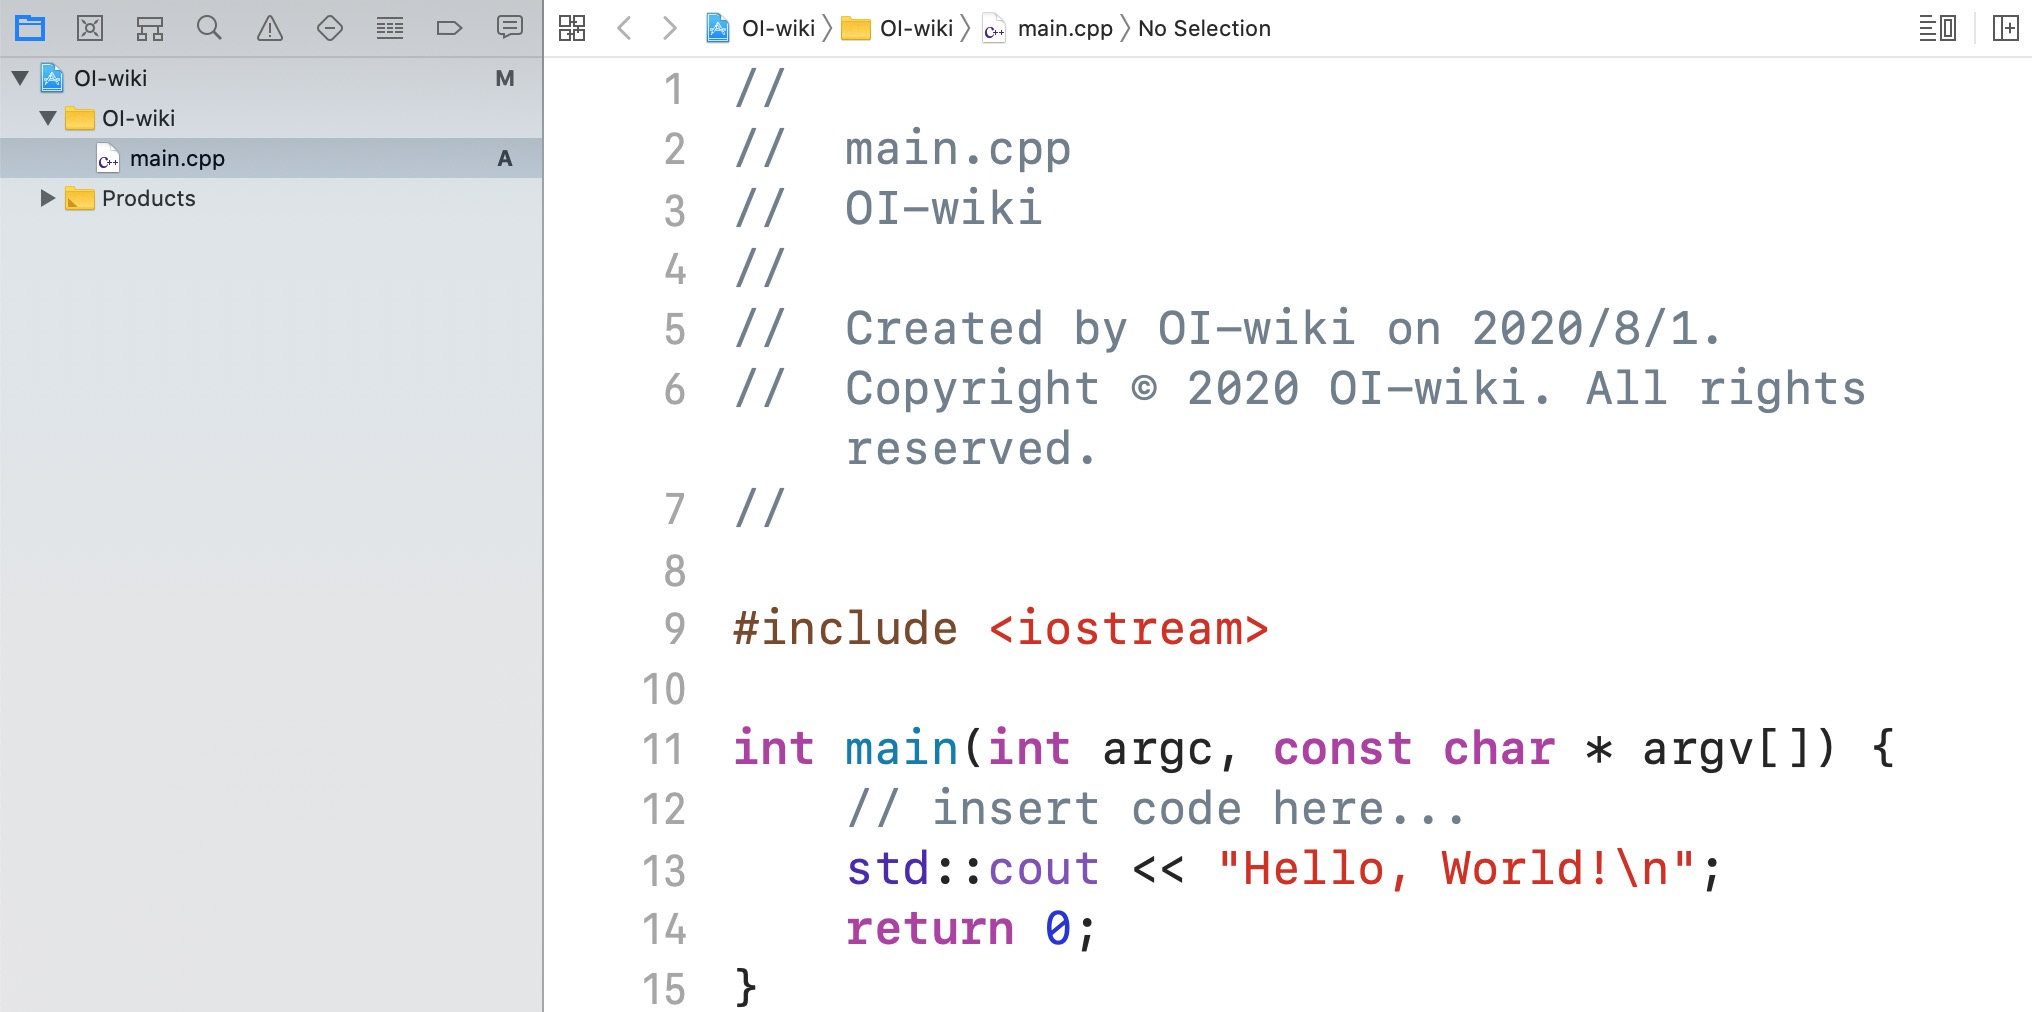
The project directory can be selected as needed. After creation is complete, Xcode will automatically open the project and create a main file (the suffix for C is .c, and the suffix for C++ is .cpp).
Click this file to open the editing area:
After writing code, press ⌘B to compile (Build) and ⌘R to run (Run). After running, drag to obtain three sections:
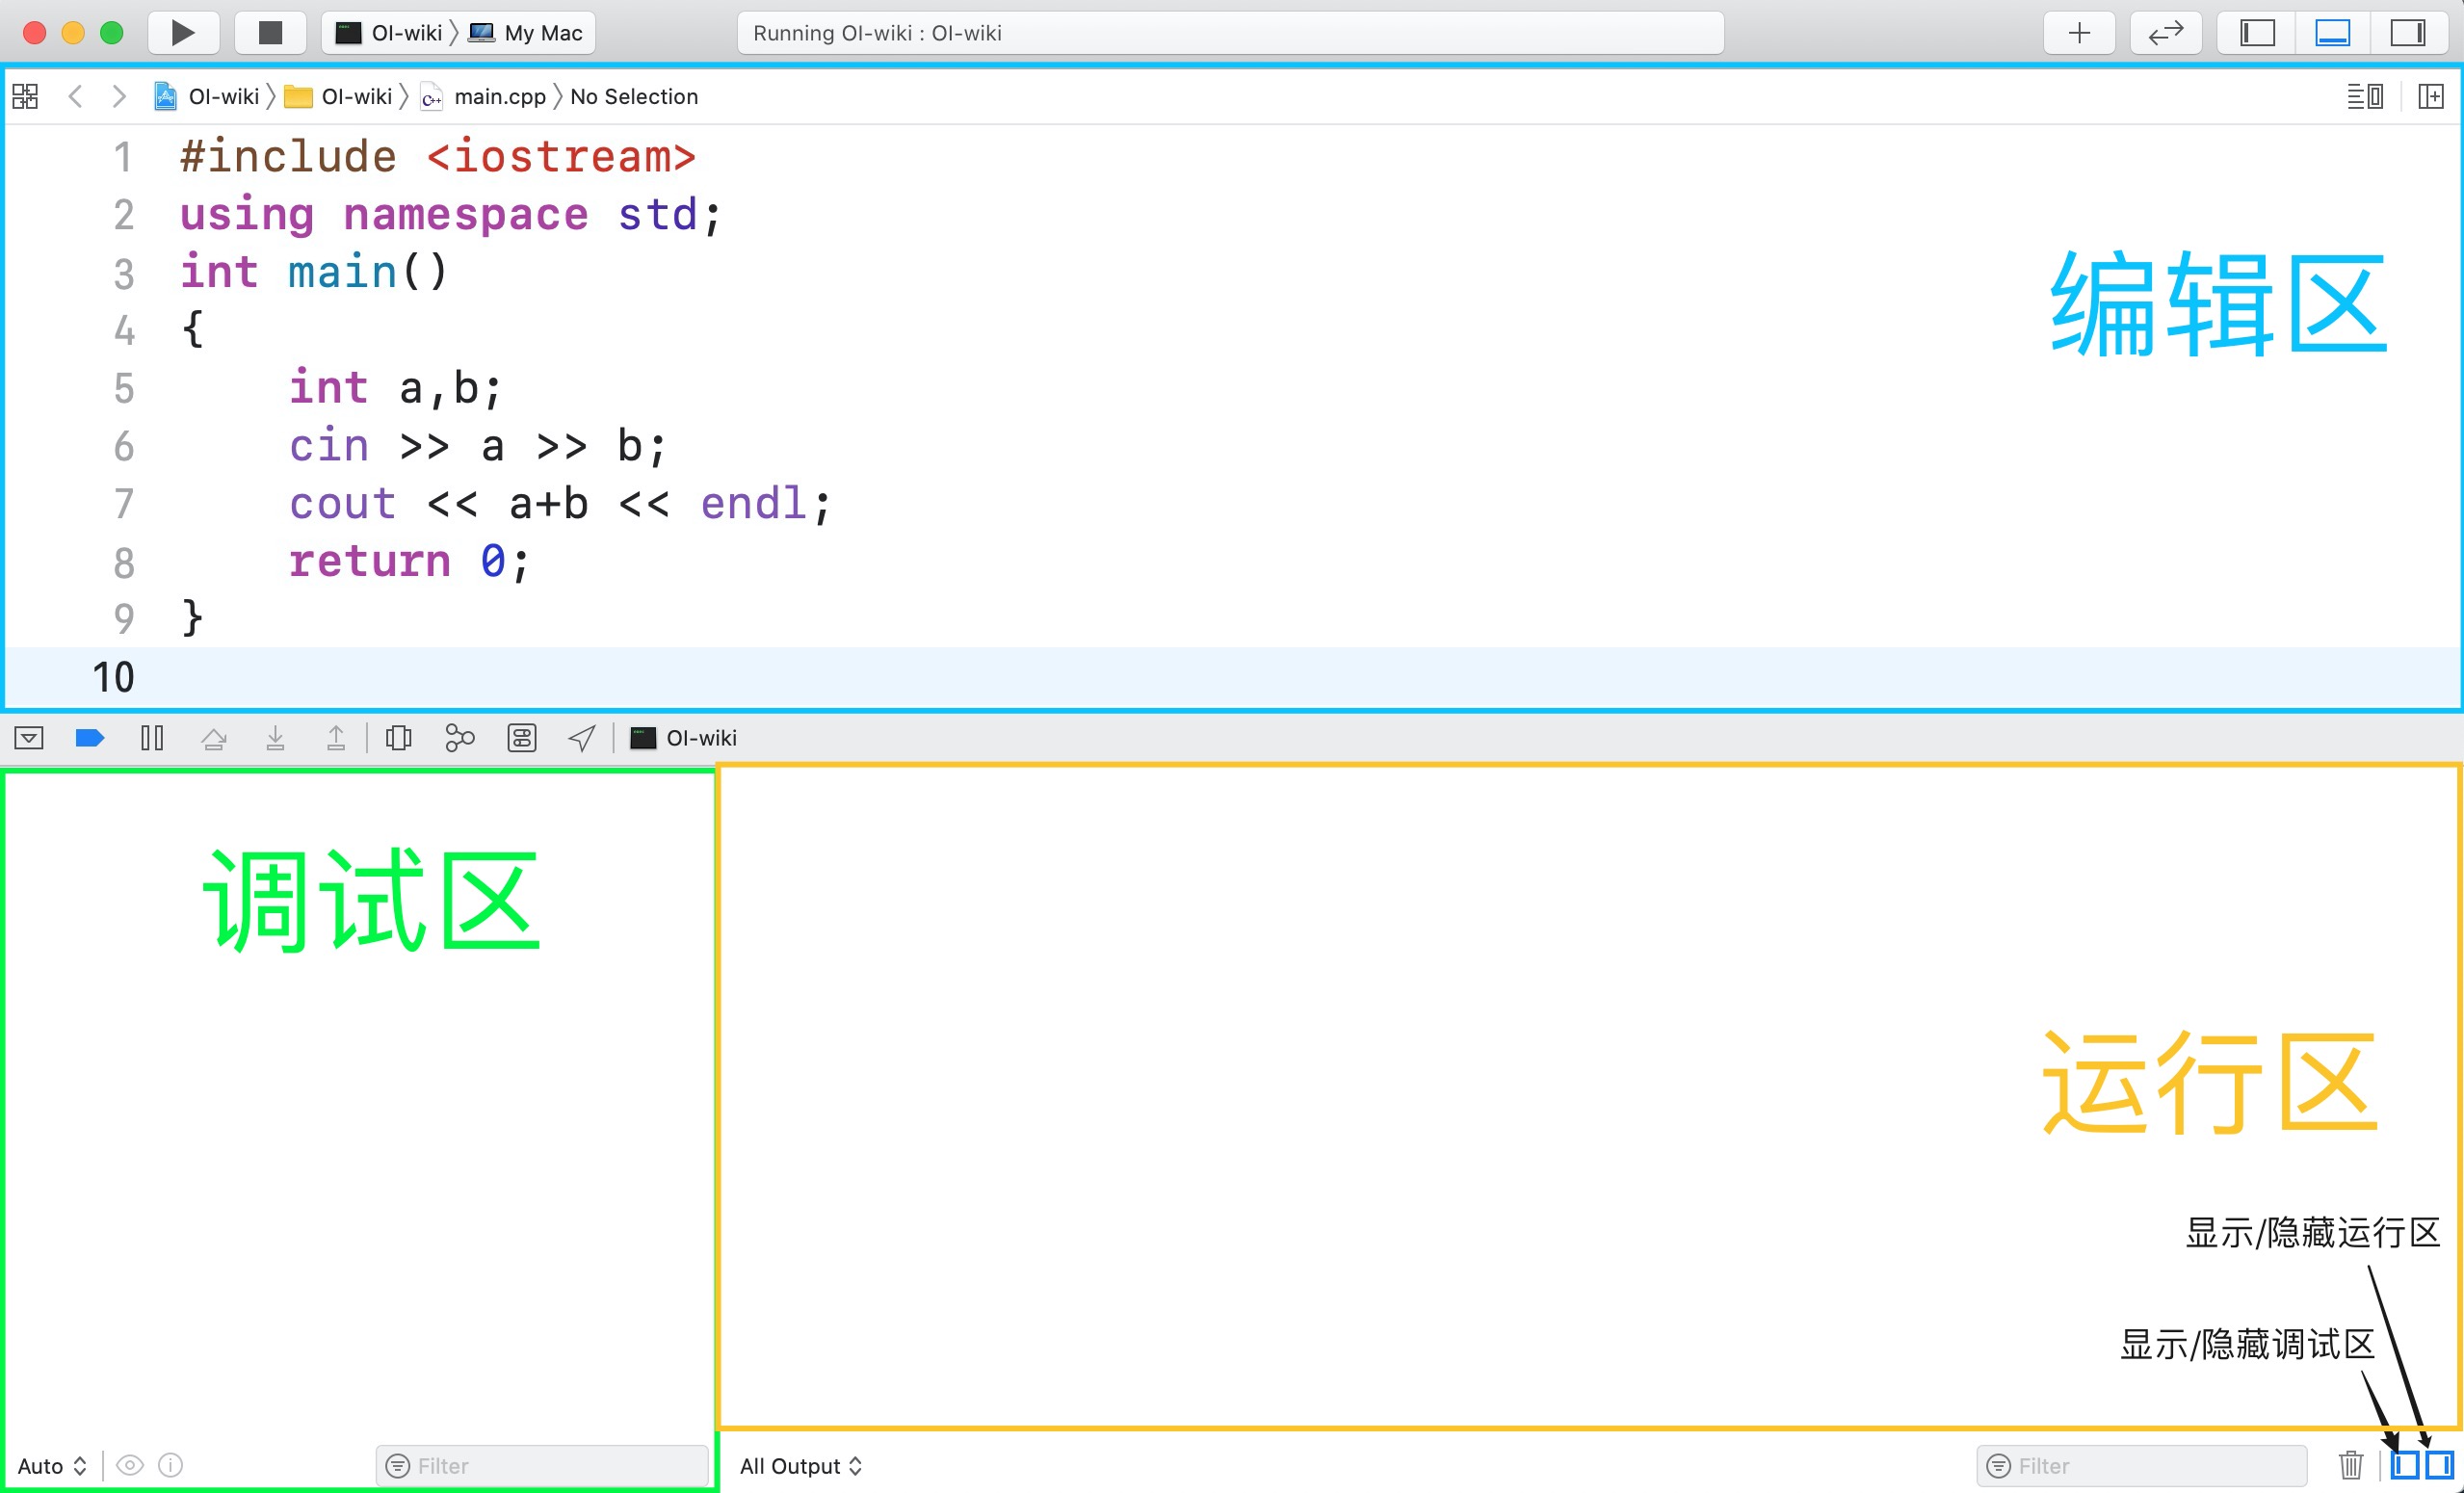
Generally speaking, we use only the editing area and the running area. If the program has input, enter it in the running area to obtain the output. The interface appears as follows:
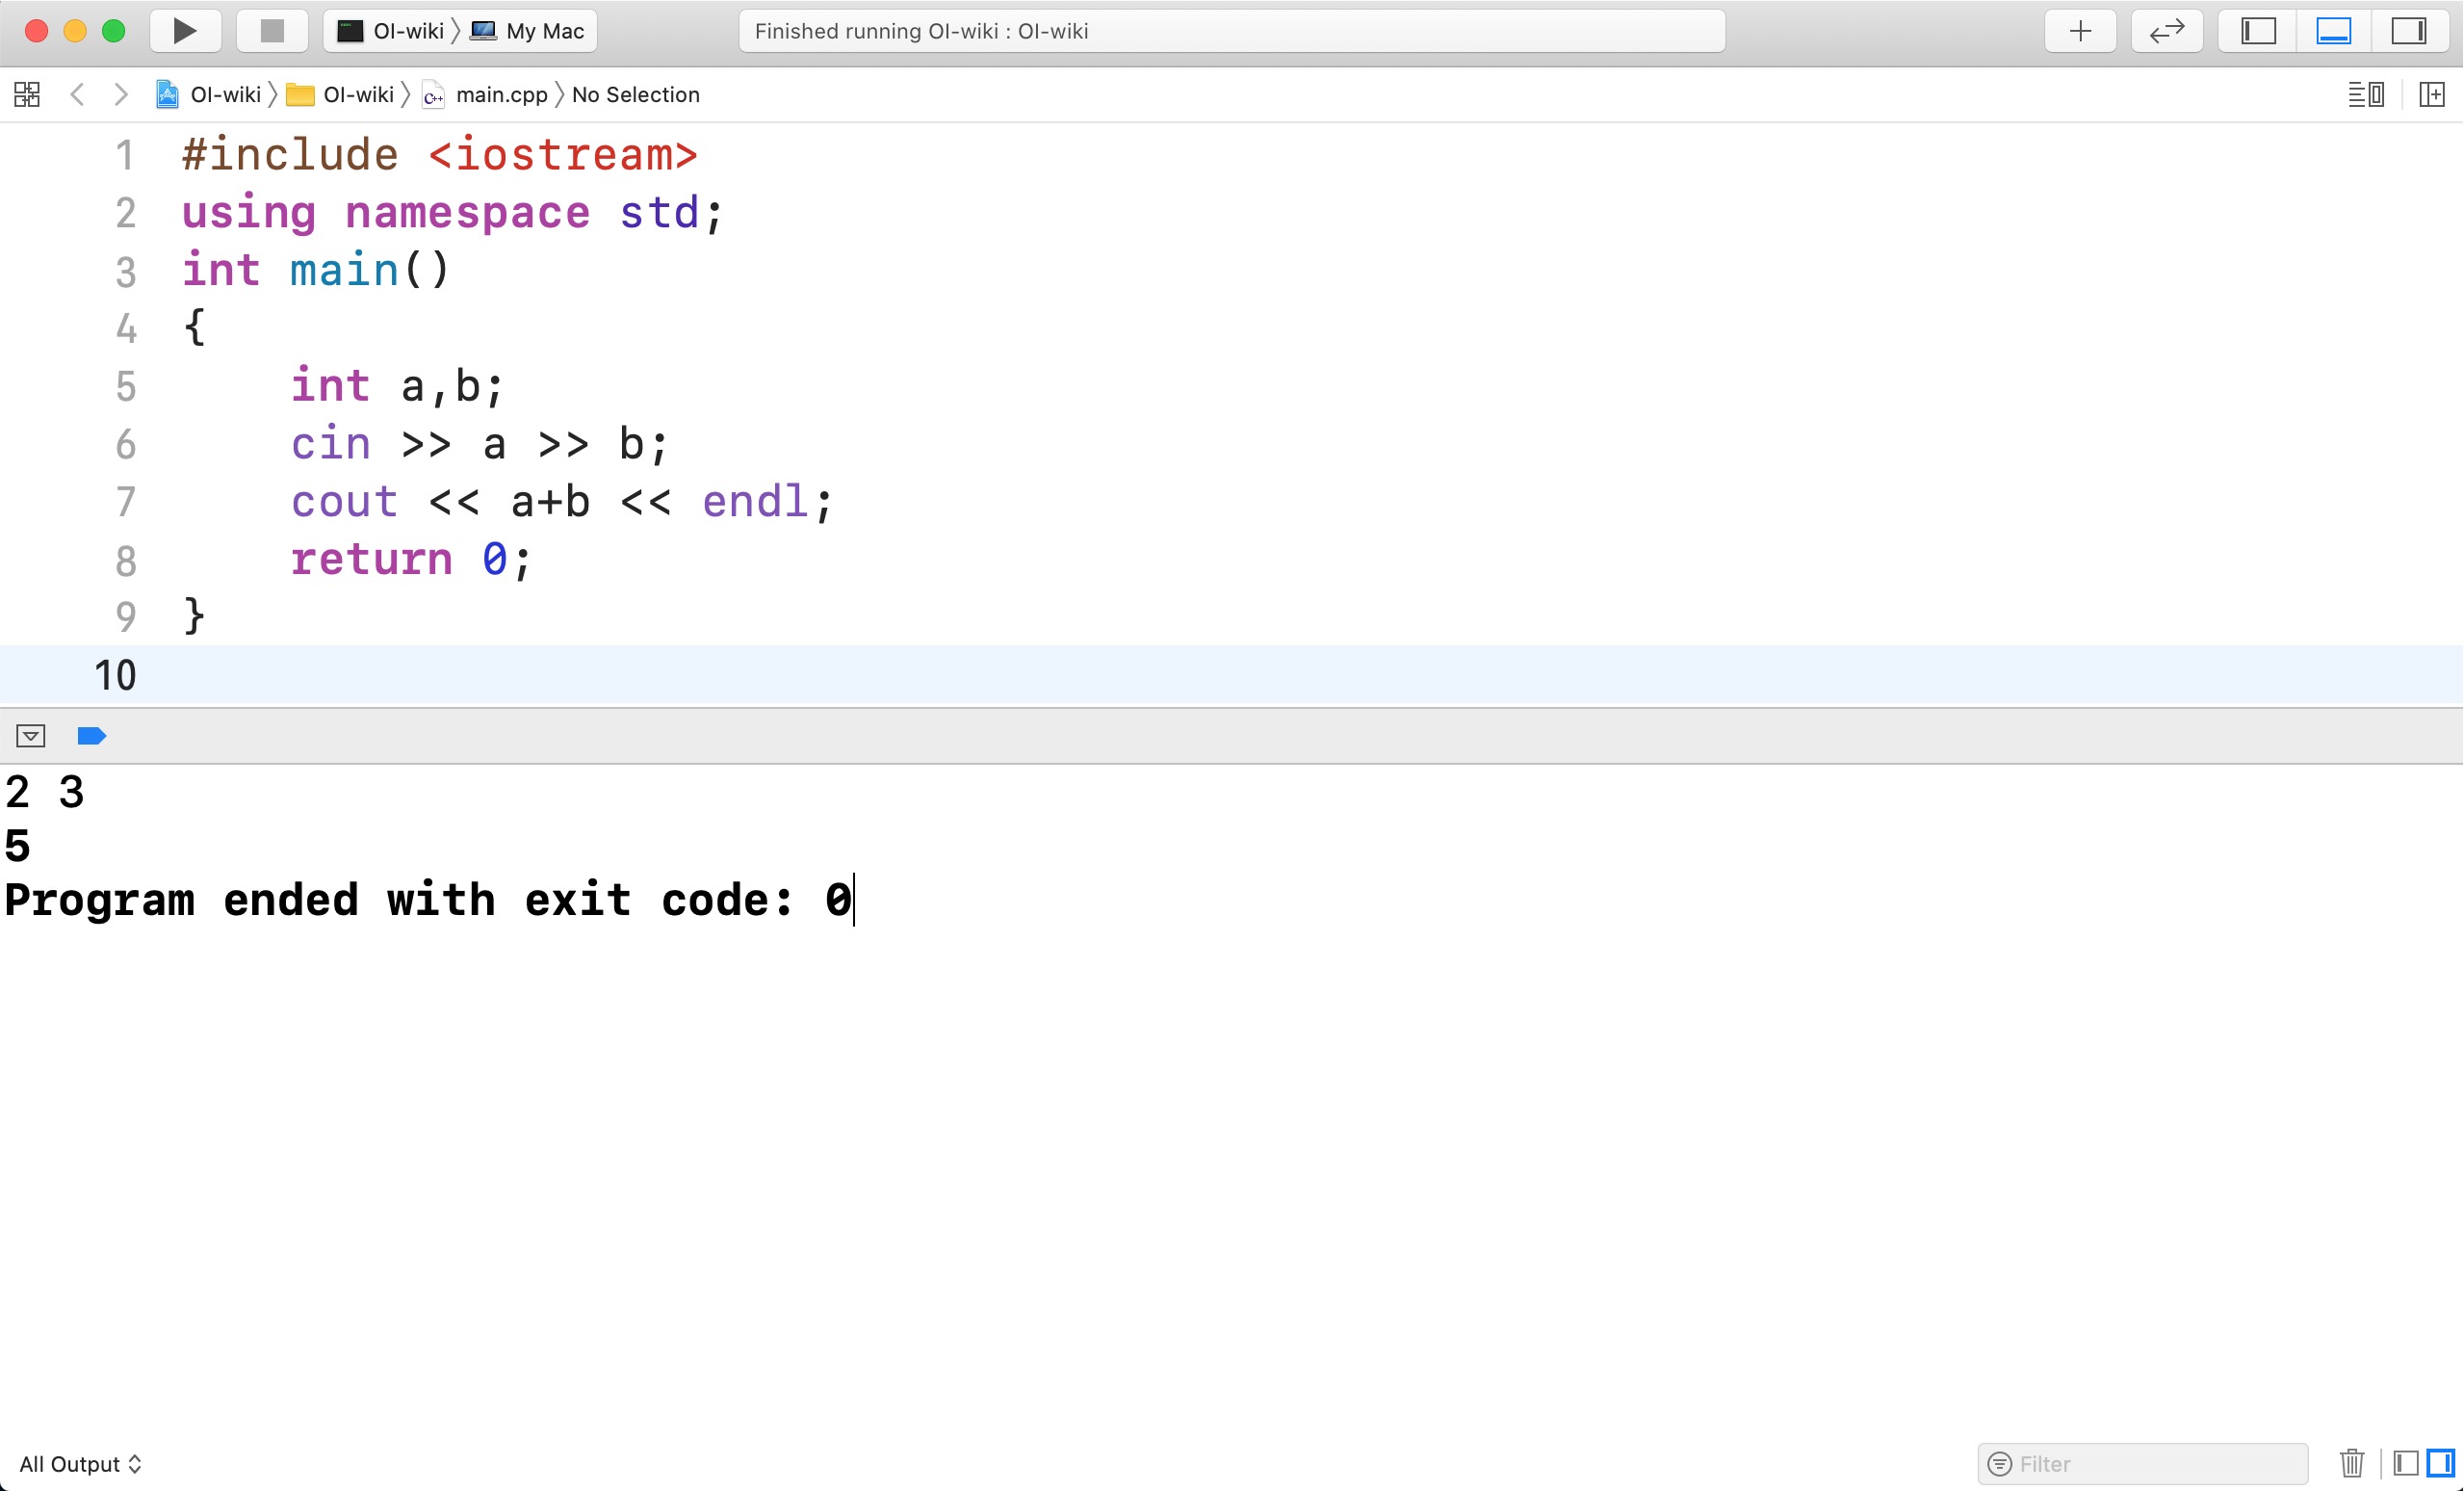
In this way, we can run any single C/C++ program.
Using the universal header
While writing code, we may use many header files. A common solution is to use the universal header.
We include the universal header on the first line of the source code, but during compilation we get: 'bits/stdc++.h' file not found. That is, the header file cannot be found.

This is because macOS uses libc++ by default as its C++ standard library implementation, while the universal header bits/stdc++.h is unique to GNU libstdc++.
However, we can write a universal header file manually and use it.
Step 1
Open Terminal (Terminal.app) and go to the folder where Xcode stores header files, namely:
cd /Applications/Xcode.app/Contents/Developer/Toolchains/XcodeDefault.xctoolchain/usr/include/c++/v1
If the Xcode version is greater than or equal to 12.5, then
cd /Applications/Xcode.app/Contents/Developer/Platforms/MacOSX.platform/Developer/SDKs/MacOSX.sdk/usr/include/c++/v1/
Step 2
Create and enter the bits folder:
mkdir bits
cd bits
Use vim to create the stdc++.h file:
vim stdc++.h
The interface is as follows:
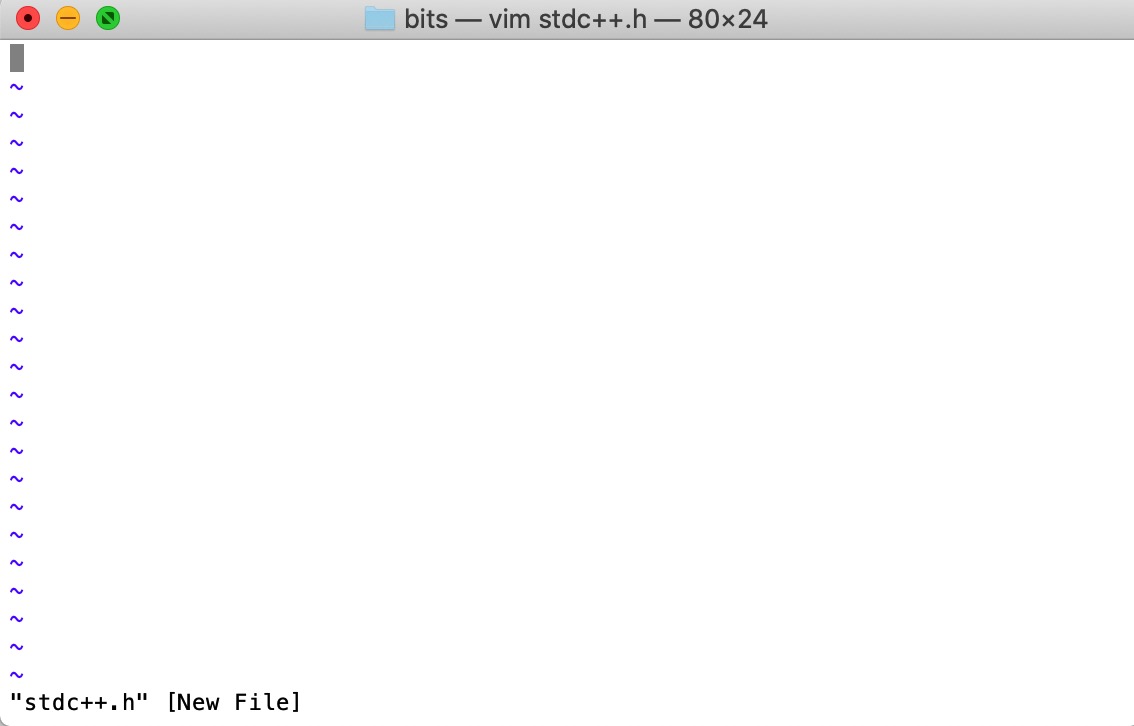
Next, we need to edit the file using vim. Press the i (insert) key to enter insert/edit mode (-- INSERT -- appears at the bottom):
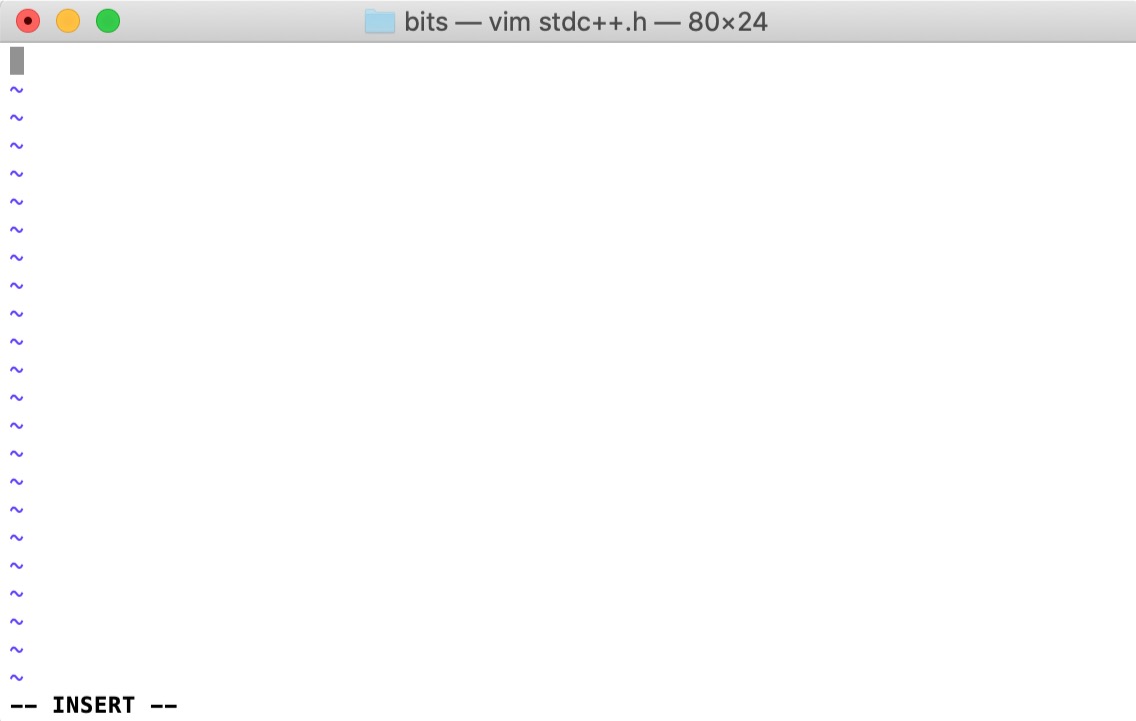
Copy and paste the following code block into the terminal:
Universal header code block
// C++ includes used for precompiling -*- C++ -*-

// Copyright (C) 2003-2020 Free Software Foundation, Inc.
//
// This file is part of the GNU ISO C++ Library.  This library is free
// software; you can redistribute it and/or modify it under the
// terms of the GNU General Public License as published by the
// Free Software Foundation; either version 3, or (at your option)
// any later version.

// This library is distributed in the hope that it will be useful,
// but WITHOUT ANY WARRANTY; without even the implied warranty of
// MERCHANTABILITY or FITNESS FOR A PARTICULAR PURPOSE.  See the
// GNU General Public License for more details.

// Under Section 7 of GPL version 3, you are granted additional
// permissions described in the GCC Runtime Library Exception, version
// 3.1, as published by the Free Software Foundation.

// You should have received a copy of the GNU General Public License and
// a copy of the GCC Runtime Library Exception along with this program;
// see the files COPYING3 and COPYING.RUNTIME respectively.  If not, see
// <http://www.gnu.org/licenses/>.

/** @file stdc++.h
 *  This is an implementation file for a precompiled header.
 */

// 17.4.1.2 Headers

// C
#ifndef _GLIBCXX_NO_ASSERT
#include <cassert>
#endif
#include <cctype>
#include <cerrno>
#include <cfloat>
#include <ciso646>
#include <climits>
#include <clocale>
#include <cmath>
#include <csetjmp>
#include <csignal>
#include <cstdarg>
#include <cstddef>
#include <cstdio>
#include <cstdlib>
#include <cstring>
#include <ctime>
#include <cwchar>
#include <cwctype>

#if __cplusplus >= 201103L
#include <ccomplex>
#include <cfenv>
#include <cinttypes>
#include <cstdbool>
#include <cstdint>
#include <ctgmath>
/* https://stackoverflow.com/a/25892335/15125422 */
#if defined(__GLIBCXX__) || defined(__GLIBCPP__)
#include <cstdalign>
#include <cuchar>
#endif
#endif

// C++
#include <algorithm>
#include <bitset>
#include <complex>
#include <deque>
#include <exception>
#include <fstream>
#include <functional>
#include <iomanip>
#include <ios>
#include <iosfwd>
#include <iostream>
#include <istream>
#include <iterator>
#include <limits>
#include <list>
#include <locale>
#include <map>
#include <memory>
#include <new>
#include <numeric>
#include <ostream>
#include <queue>
#include <set>
#include <sstream>
#include <stack>
#include <stdexcept>
#include <streambuf>
#include <string>
#include <typeinfo>
#include <utility>
#include <valarray>
#include <vector>

#if __cplusplus >= 201103L
#include <array>
#include <atomic>
#include <chrono>
#include <codecvt>
#include <condition_variable>
#include <forward_list>
#include <future>
#include <initializer_list>
#include <mutex>
#include <random>
#include <ratio>
#include <regex>
#include <scoped_allocator>
#include <system_error>
#include <thread>
#include <tuple>
#include <type_traits>
#include <typeindex>
#include <unordered_map>
#include <unordered_set>
#endif

#if __cplusplus >= 201402L
#include <shared_mutex>
#endif

#if __cplusplus >= 201703L
#include <any>
#include <charconv>
// #include <execution>
#include <filesystem>
#include <memory_resource>
#include <optional>
#include <string_view>
#include <variant>
#endif

#if __cplusplus > 201703L
#include <bit>
#include <compare>
#include <concepts>
#include <numbers>
#include <ranges>
#include
#include <stop_token>
// #include <syncstream>
#include <version>
#endif
This file comes from version 10.2.0 of libstdc++ and has been slightly modified to be compatible with libc++.
Press Esc in the upper-left corner of the keyboard to exit edit mode, then directly enter :wq and press Enter to save the file.
Step 3
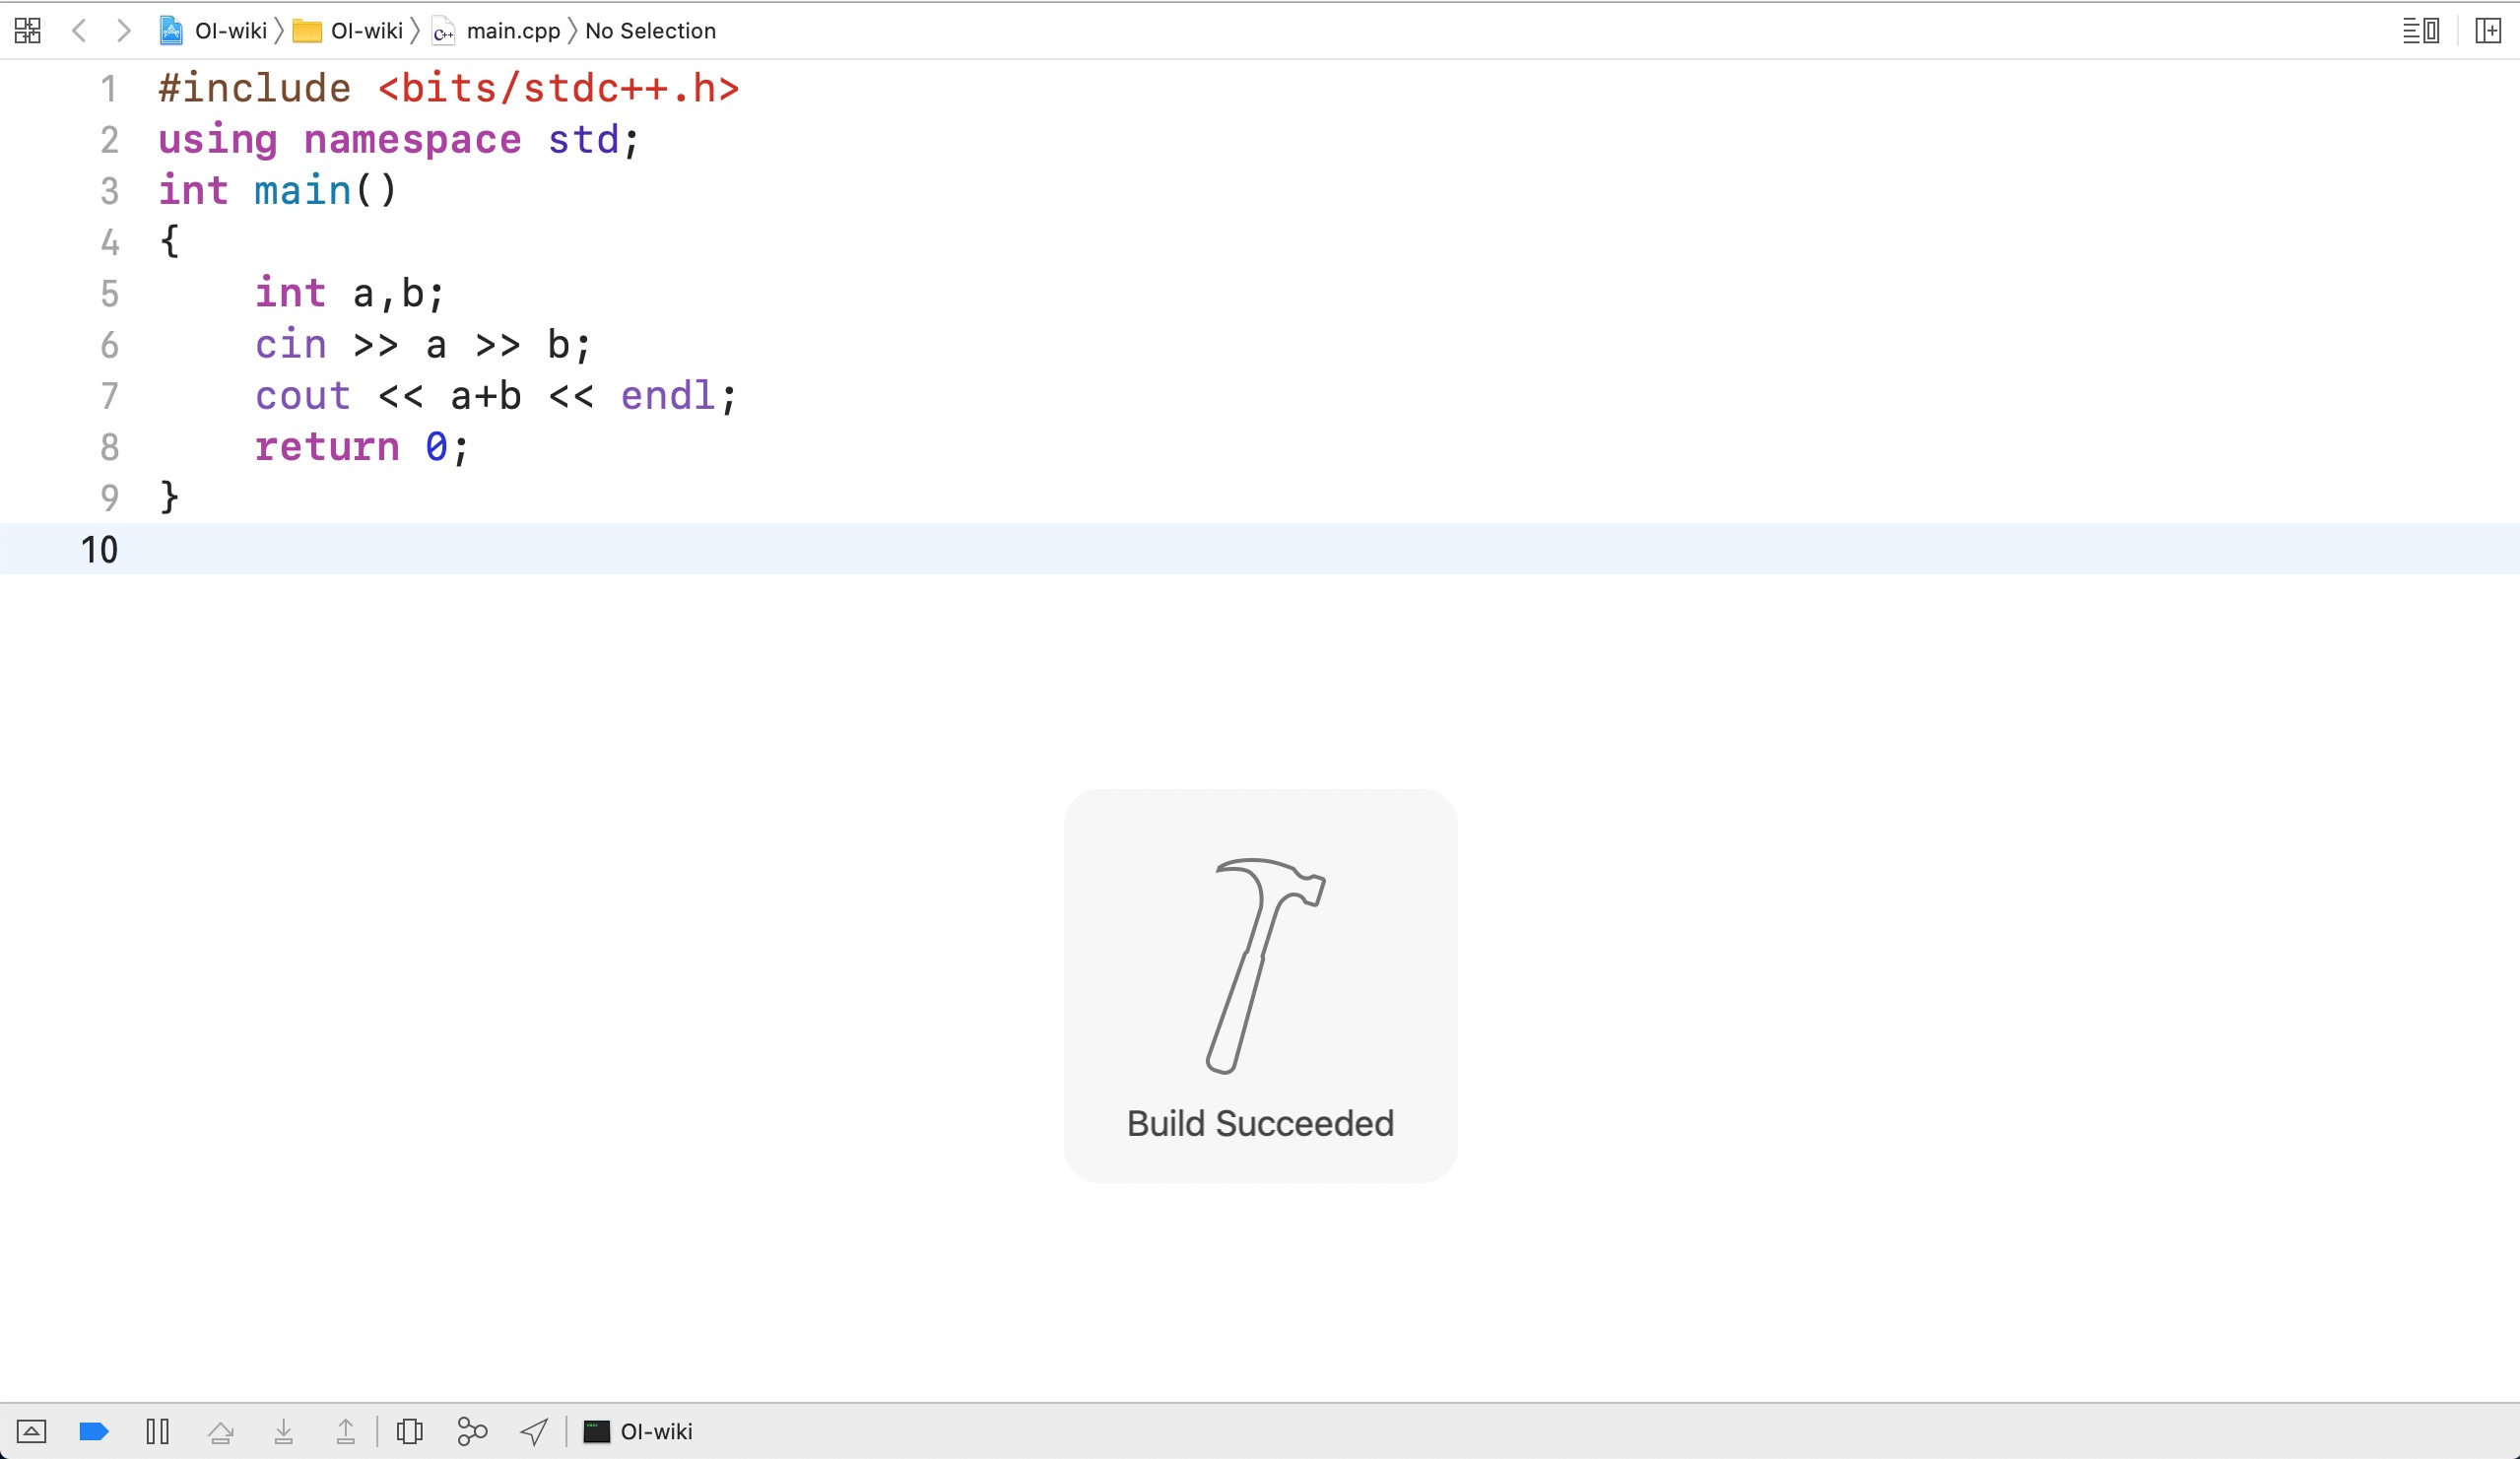
Close the terminal and return to Xcode. Press ⌘B/⌘R again to compile, and you will find that compilation succeeds:
Pros and cons
Advantages: Developed by Apple, suitable for Mac users, with a complete and attractive interface.
Disadvantages: Xcode is mainly used for developing Apple programs; for competitions, its features are redundant, its installer is large, and it can only be used on Mac.