Introduction
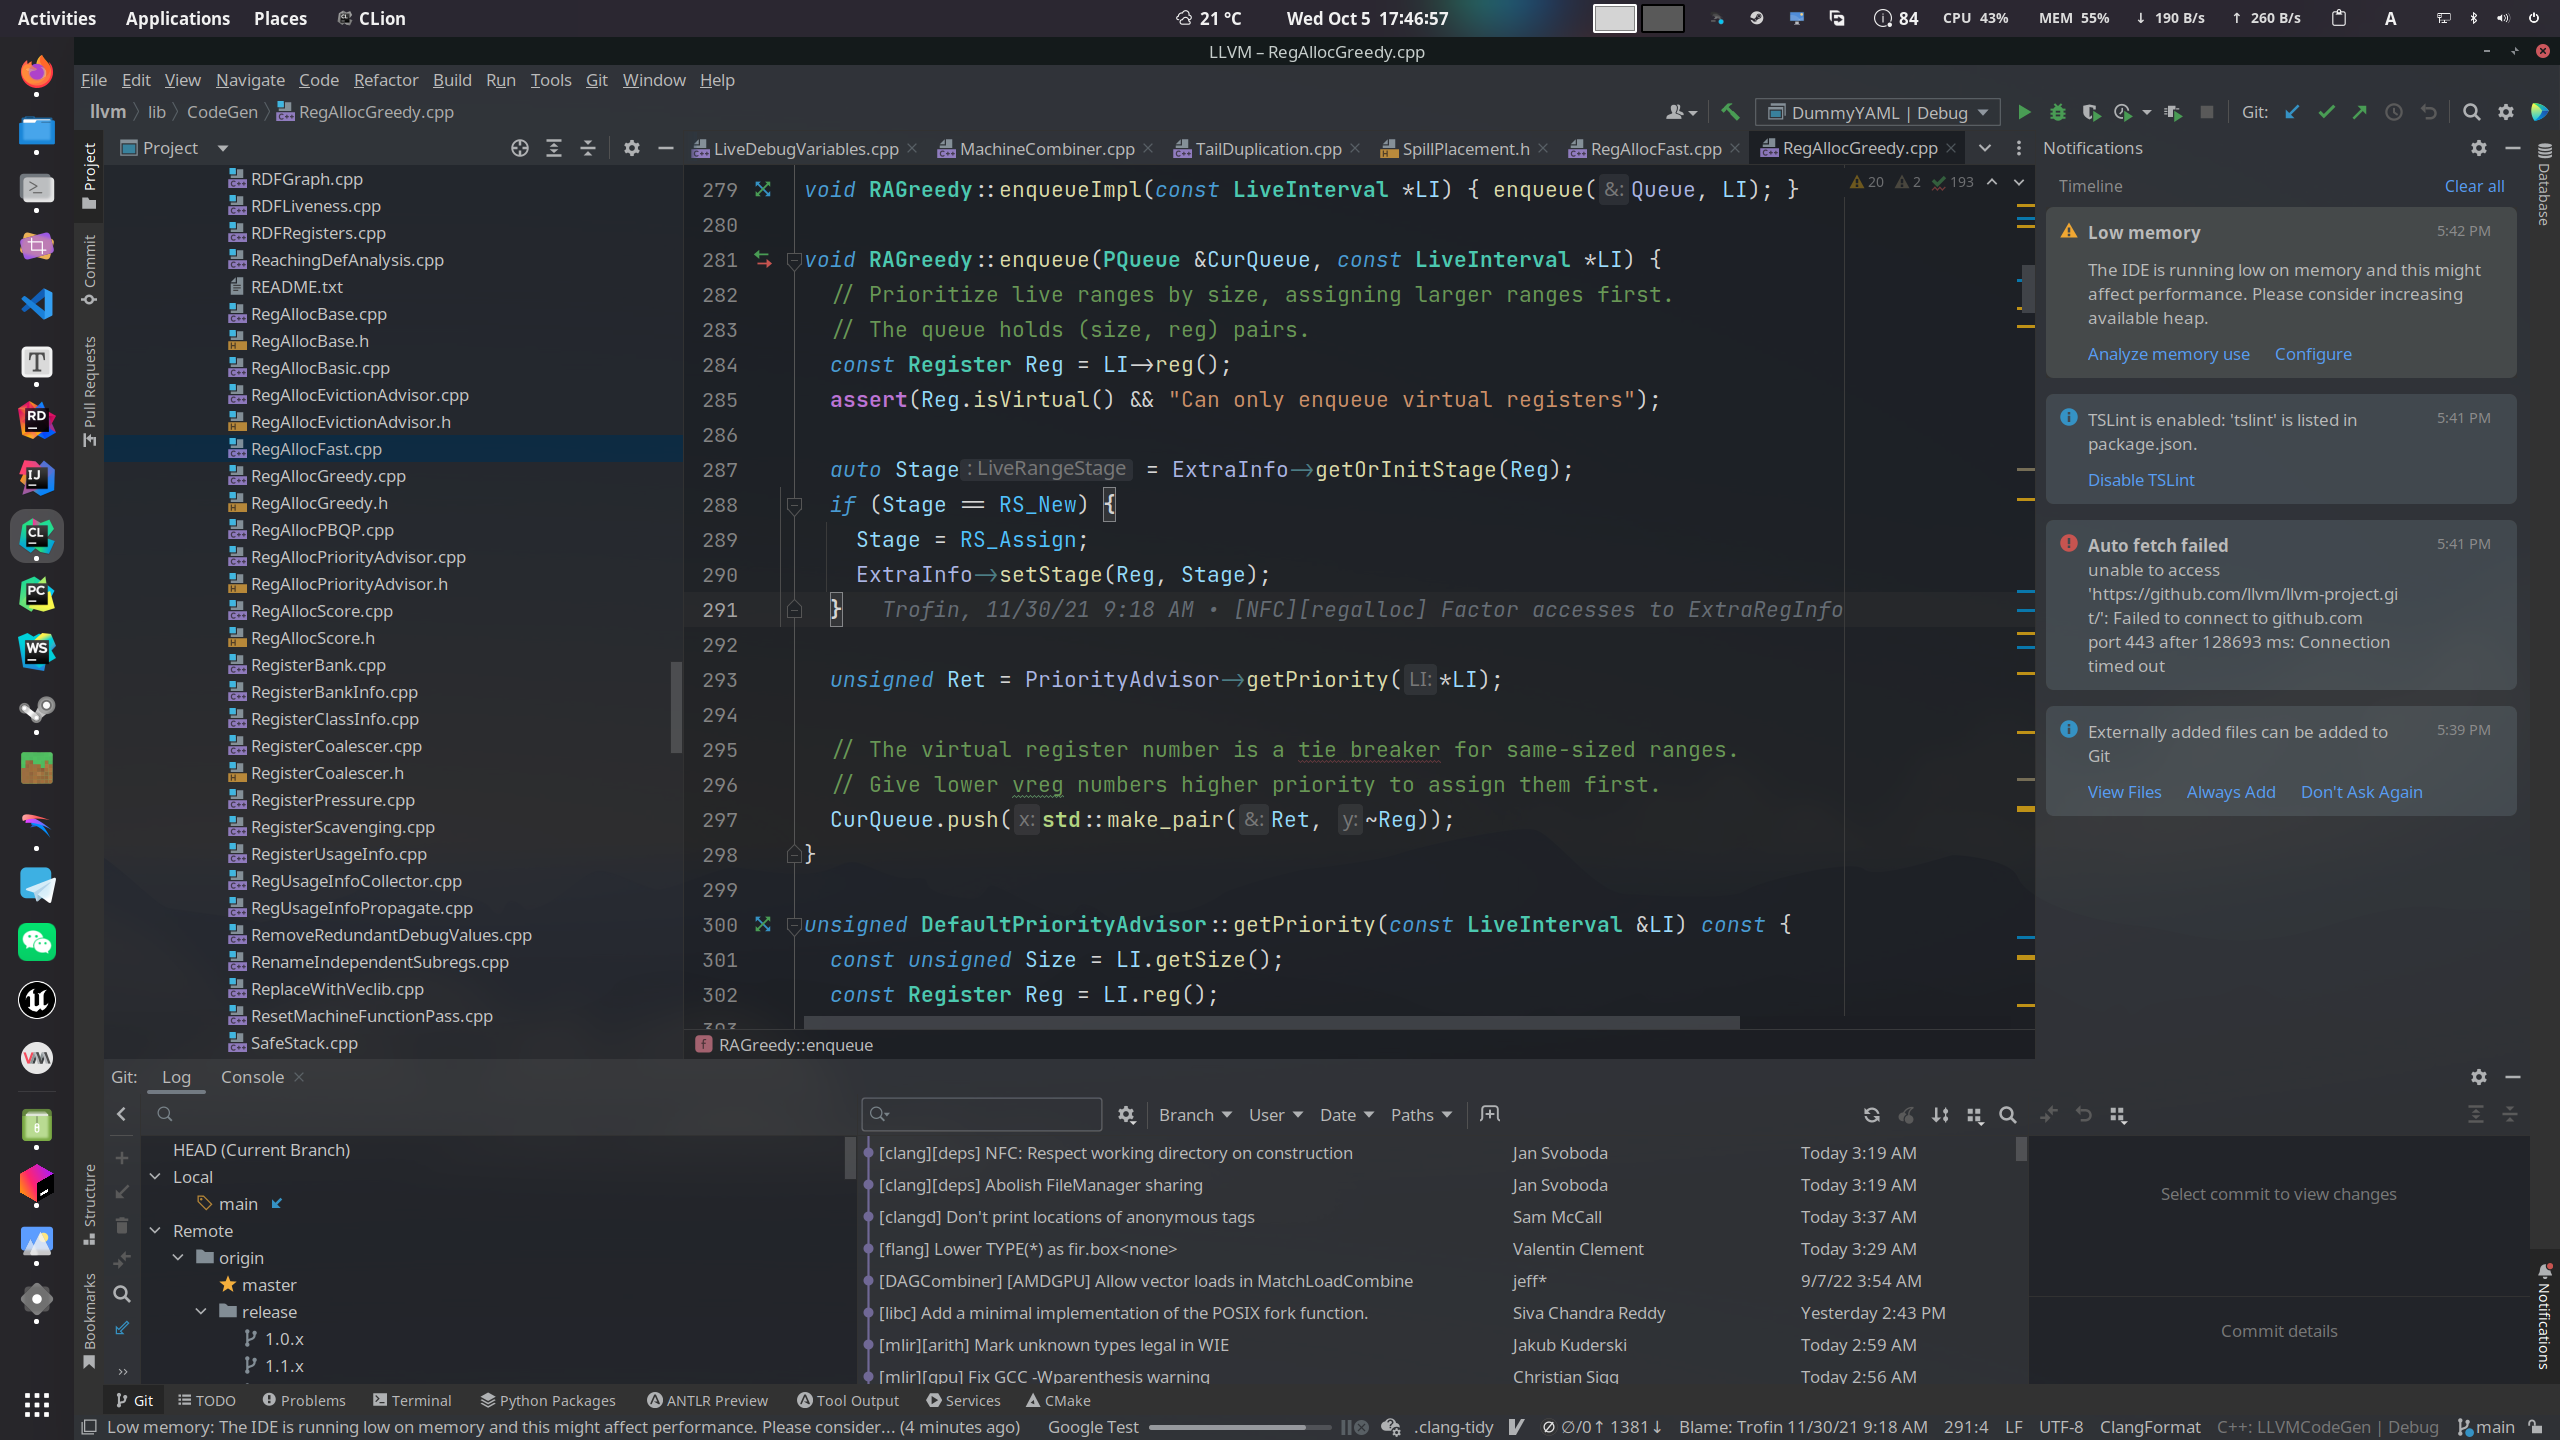
CLion is a feature-rich and powerful cross-platform C/C++ integrated development environment (IDE) developed by JetBrains.
Official Tutorial
The official website provides a tutorial on learning CLion.
Installation
See Download CLion.
Configuration
Installing Toolchains
CLion does not include a compiler, build tools, or debugging tools by default; they need to be installed manually.
Windows
See Tutorial: Configure CLion on Windows | CLion Documentation.
It is worth mentioning that the Windows version of CLion includes MinGW, so there is no need to install the MinGW toolchain separately.
Linux
Debian/Ubuntu and Derivatives
sudo apt install make cmake # build tools
sudo apt install gcc g++ gdb # compiler and debugger
sudo apt install clang clang++ llvm lldb # you can also choose to use clang toolchain
Arch Linux and Derivatives
sudo pacman -S make cmake # build tools
sudo pacman -S gcc g++ gdb # compiler and debugger
sudo pacman -S clang clang++ llvm lldb # you can also choose to use clang toolchain
Fedora/RHEL/CentOS/Rocky Linux
sudo dnf install make cmake # build tools
sudo dnf install gcc g++ gdb # compiler and debugger
sudo dnf install clang clang++ llvm lldb # you can also choose to use clang toolchain
macOS
See Tutorial: Configure CLion on macOS | CLion Documentation.
Configuring Toolchains
Configuring a Toolchain Manually
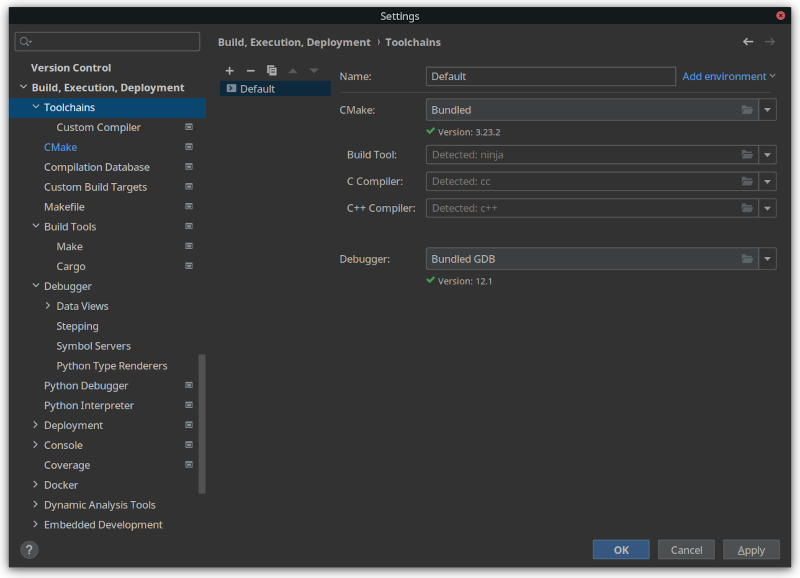
A newly installed CLion automatically detects the C/C++ development toolchain on the system. If an installed toolchain cannot be detected automatically, it can be configured manually in Settings under Build, Execution, Deployment>Toolchains.
Compiling, Running, and Debugging
Although CLion was originally created for complex multi-file C/C++ projects, and earlier versions of CLion used CMake as the default build tool, since CLion 2022.3, CLion has supported running C and C++ single files.
There are several ways to run a C++ program; a simple process is as follows:
- Create a C/C++ project:
New -> Project -> C++ Executable, choose an appropriate location and language-standard version, and clickCreate. - Open the project. At this point, the project directory should contain a
cmake-build-debugdirectory, aCMakeLists.txtfile, and amain.cppfile. Since we do not need to use CMake to manage the project, we can delete theCMakeLists.txtfile and thecmake-build-debugdirectory together with all its files. - Click to open the
main.cppfile and right-click in the editor. You will see theRun 'main.cpp'option. After selecting this option, CLion can automatically create a run configuration and run the program.
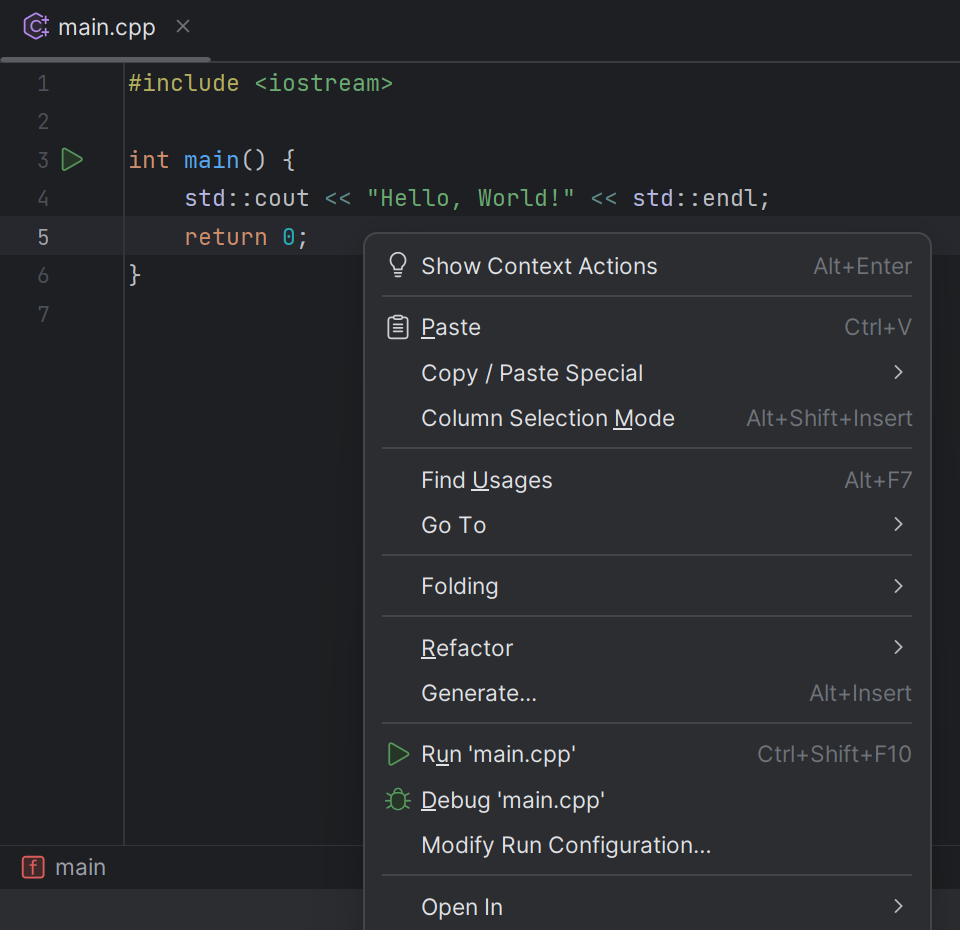
To debug the program, set a breakpoint in the editor, right-click in the editor, and select the Debug 'main.cpp' option.
Compiling, Running, and Debugging with CMake
Settings
CLion can also use CMake as a build tool. CMake settings can be modified under Build, Execution, Deployment -> Toolchains -> CMake.
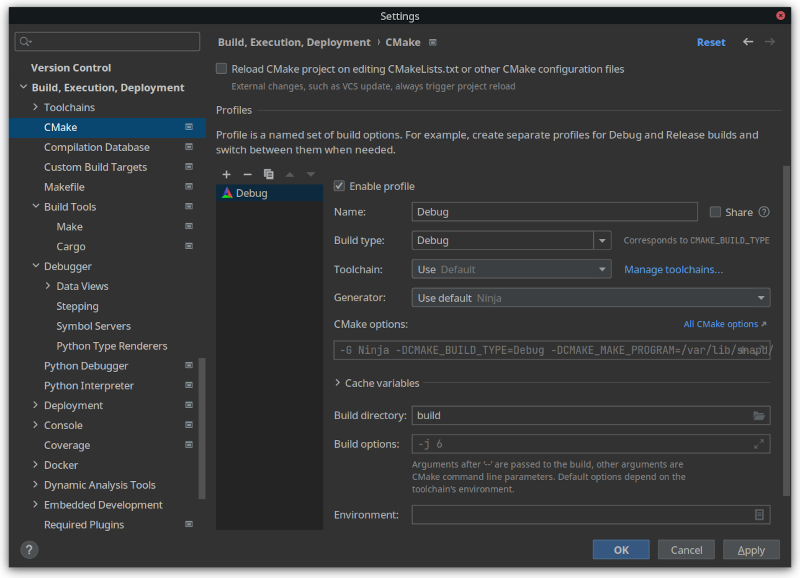
Compile Options
CMake uses the CMakeList.txt file in the project root directory as the project configuration file by default. Compile options can be added with the add_compile_options command, for example:
add_compile_options(-std=c++17 -DDEBUG)
For other CMake features, see the official CMake documentation.
Obtaining a CLion IDE License for Free
CLion is a paid product, but a special license can be obtained through an educational email address or an open-source project. After applying, you can not only use a genuine CLion IDE for free, but also use other paid products developed by JetBrains for free.
Note
CLion has been free for non-commercial use since May 2025.
According to the definition in the Toolbox non-commercial-use subscription agreement, a commercial product is one that is distributed or provided for payment, or used as part of your commercial activities. However, certain categories are explicitly excluded from this definition. Common non-commercial use cases include learning and self-education, content creation in any form, open-source code, and hobby development.
Using an Educational Email Address
Go to the Free Educational Licenses page on the official website, click the Apply button, and fill in the relevant information to apply.
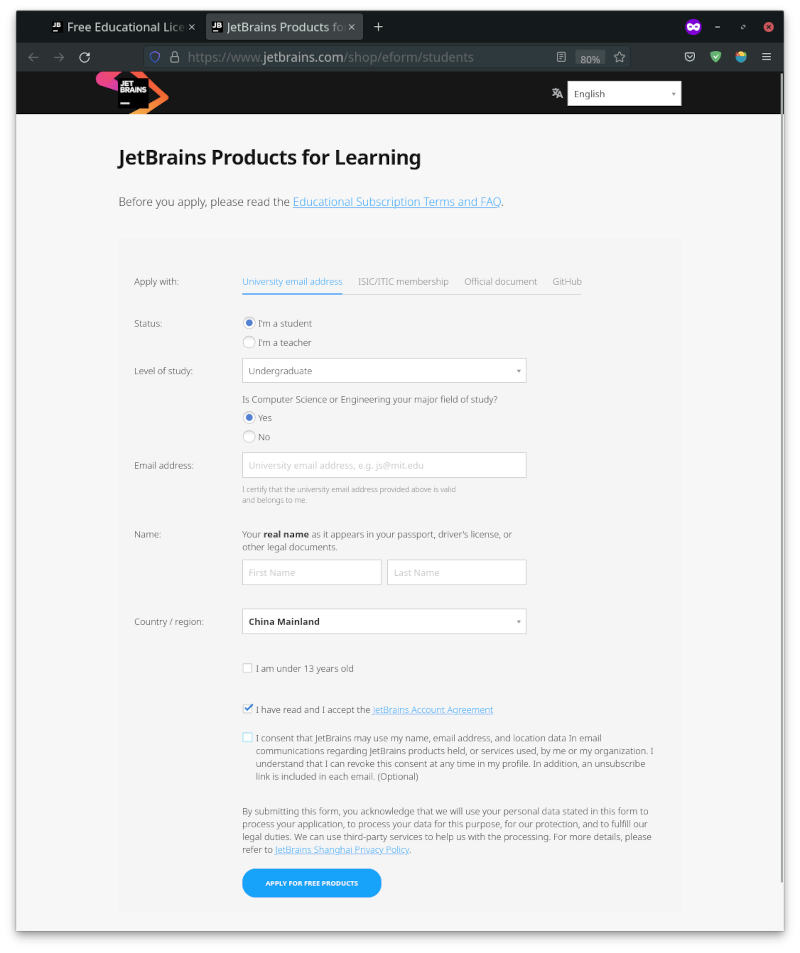
When registering, enter an educational email address with a suffix such as @edu.cn in the email field. The special license can only be obtained after email verification.
You can apply for an educational email address through the academic affairs office website of your university. If you cannot apply for one, you need to use Chsi for verification (mainland China only).
Using an Open-Source Project
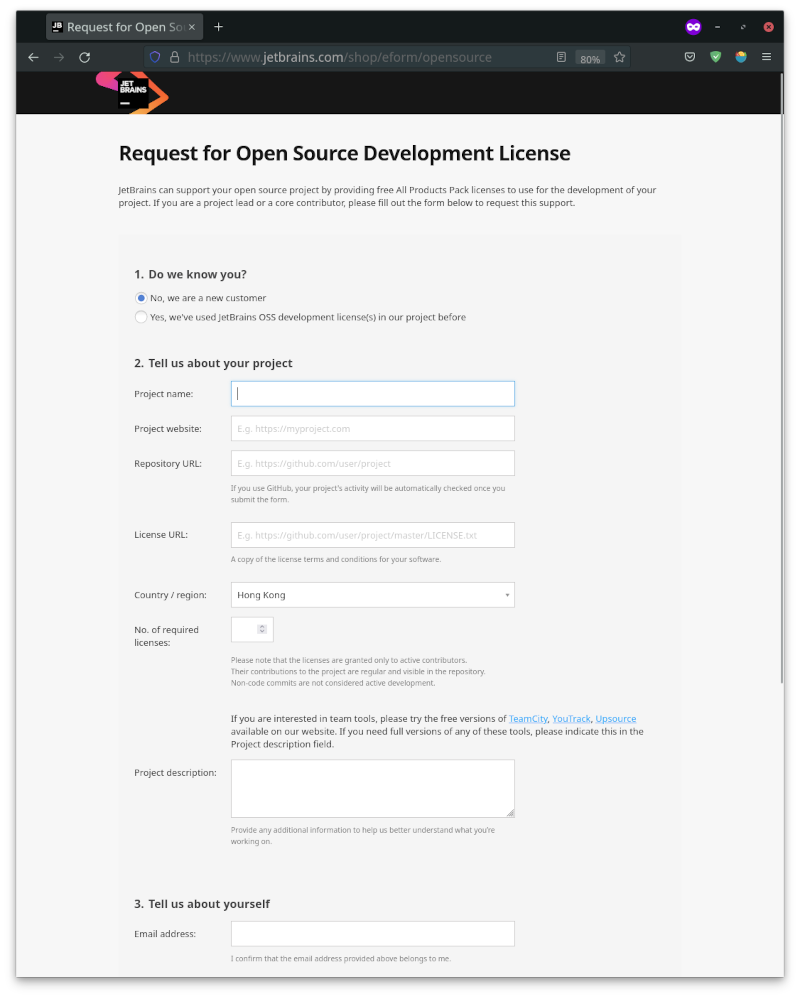
If you are a core developer or maintainer of an open-source project, you can try applying for an Open Source Development License. The application process is similar to that for an educational license, but you need to fill in the repository address of the open-source project.